Setup Microsoft Foundry
In this section, you will set up the Microsoft Foundry resource and deploy your first model so it’s ready for the workshop. Before you start with the workshop, make sure you have read how to get Azure and setup your dev environment.
Steps
- Log in to Azure
- Sign in to the Azure Portal.
- Create a Microsoft Foundry Resource
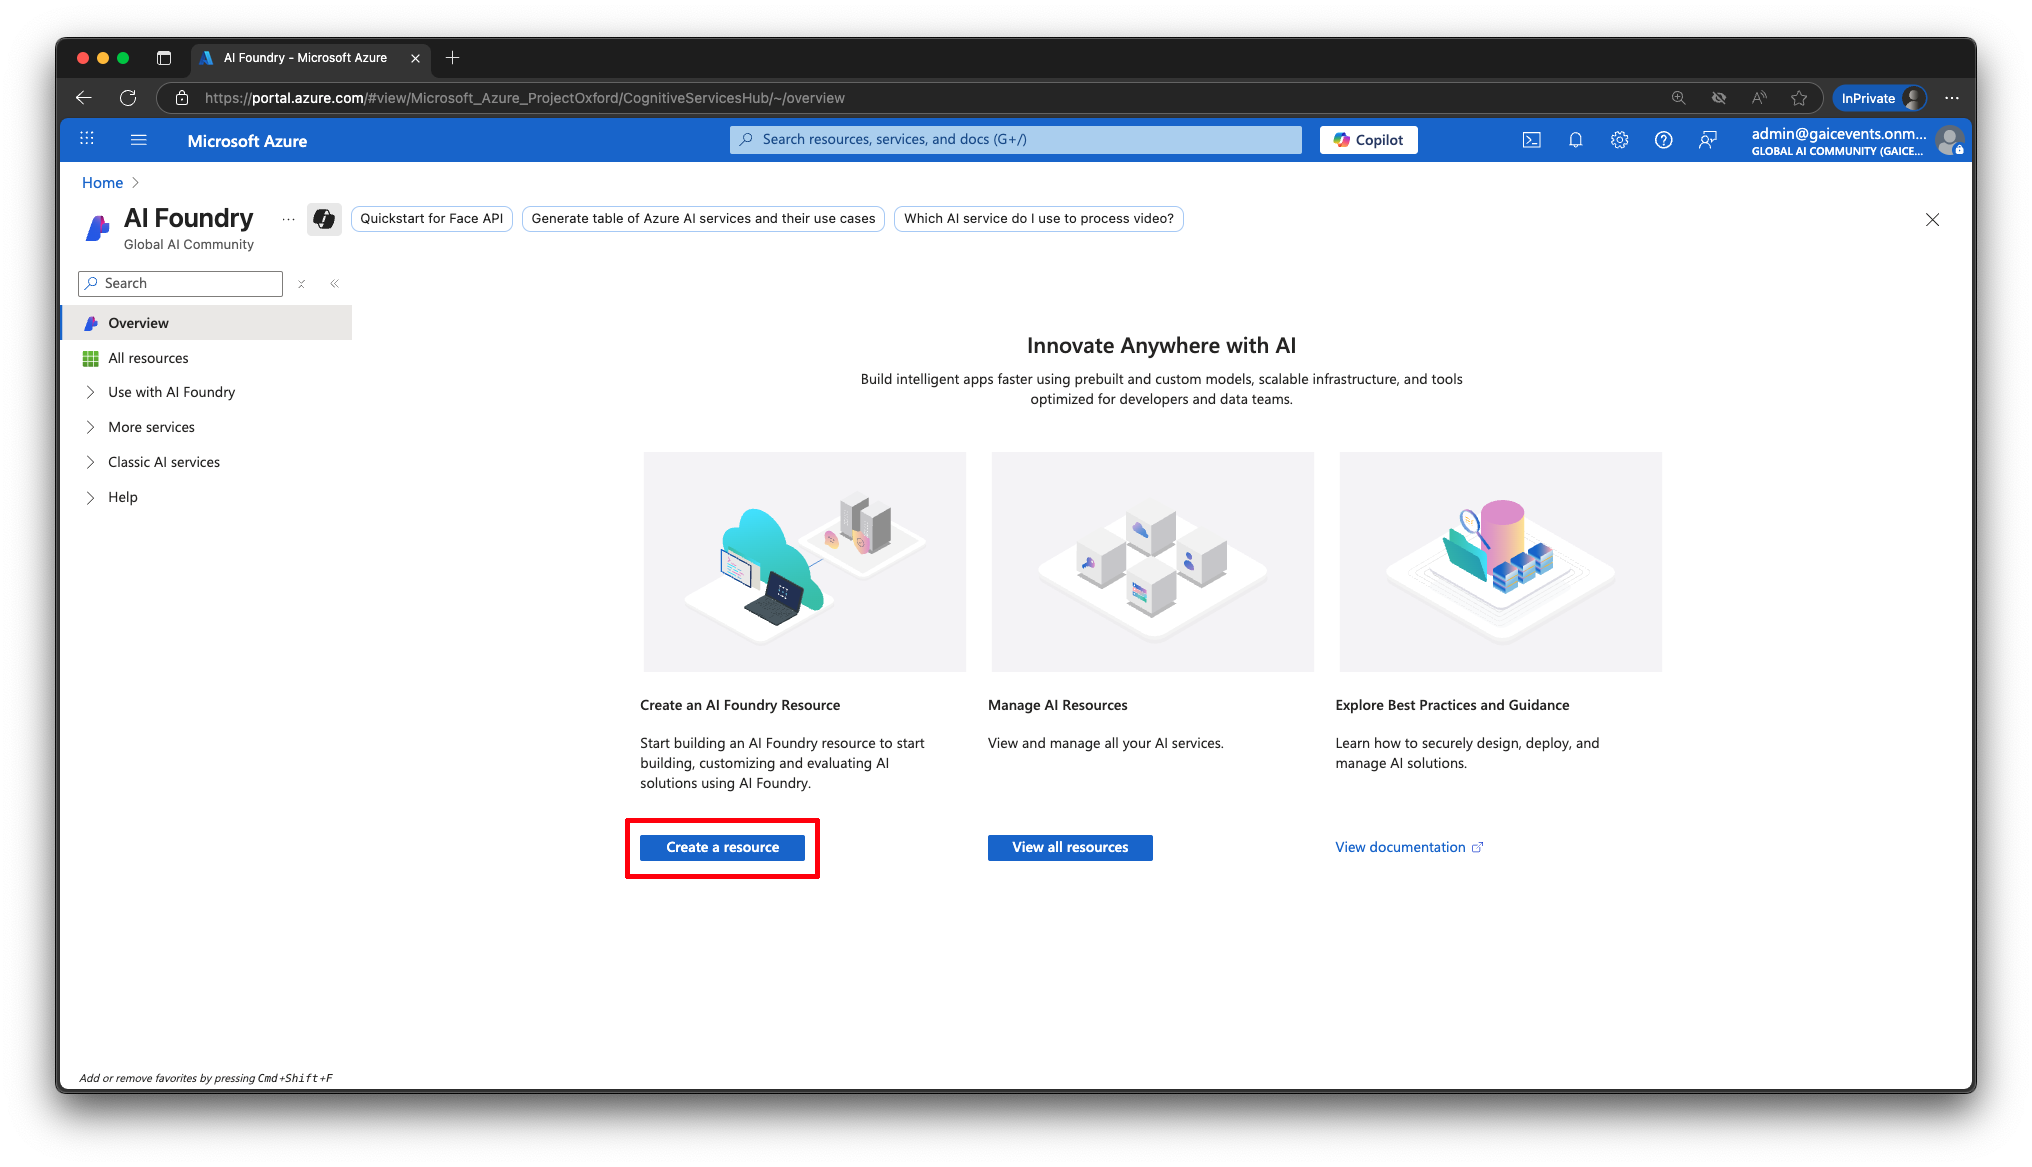
- Navigate to the Microsoft Foundry service.
- Click Create a resource.
Enter the resource details
Fill in the form with the following values, then click Next:Field Value Subscription: Select the subscription provided for this workshop Resource group: Click Create newand give your resource group a descriptive name, e.g.pizza_workshop-RGName: Enter a unique name, e.g. pizza-foundry-resource-7yudRegion: Choose East US or Sweden Central Project Name: Pizza-Workshop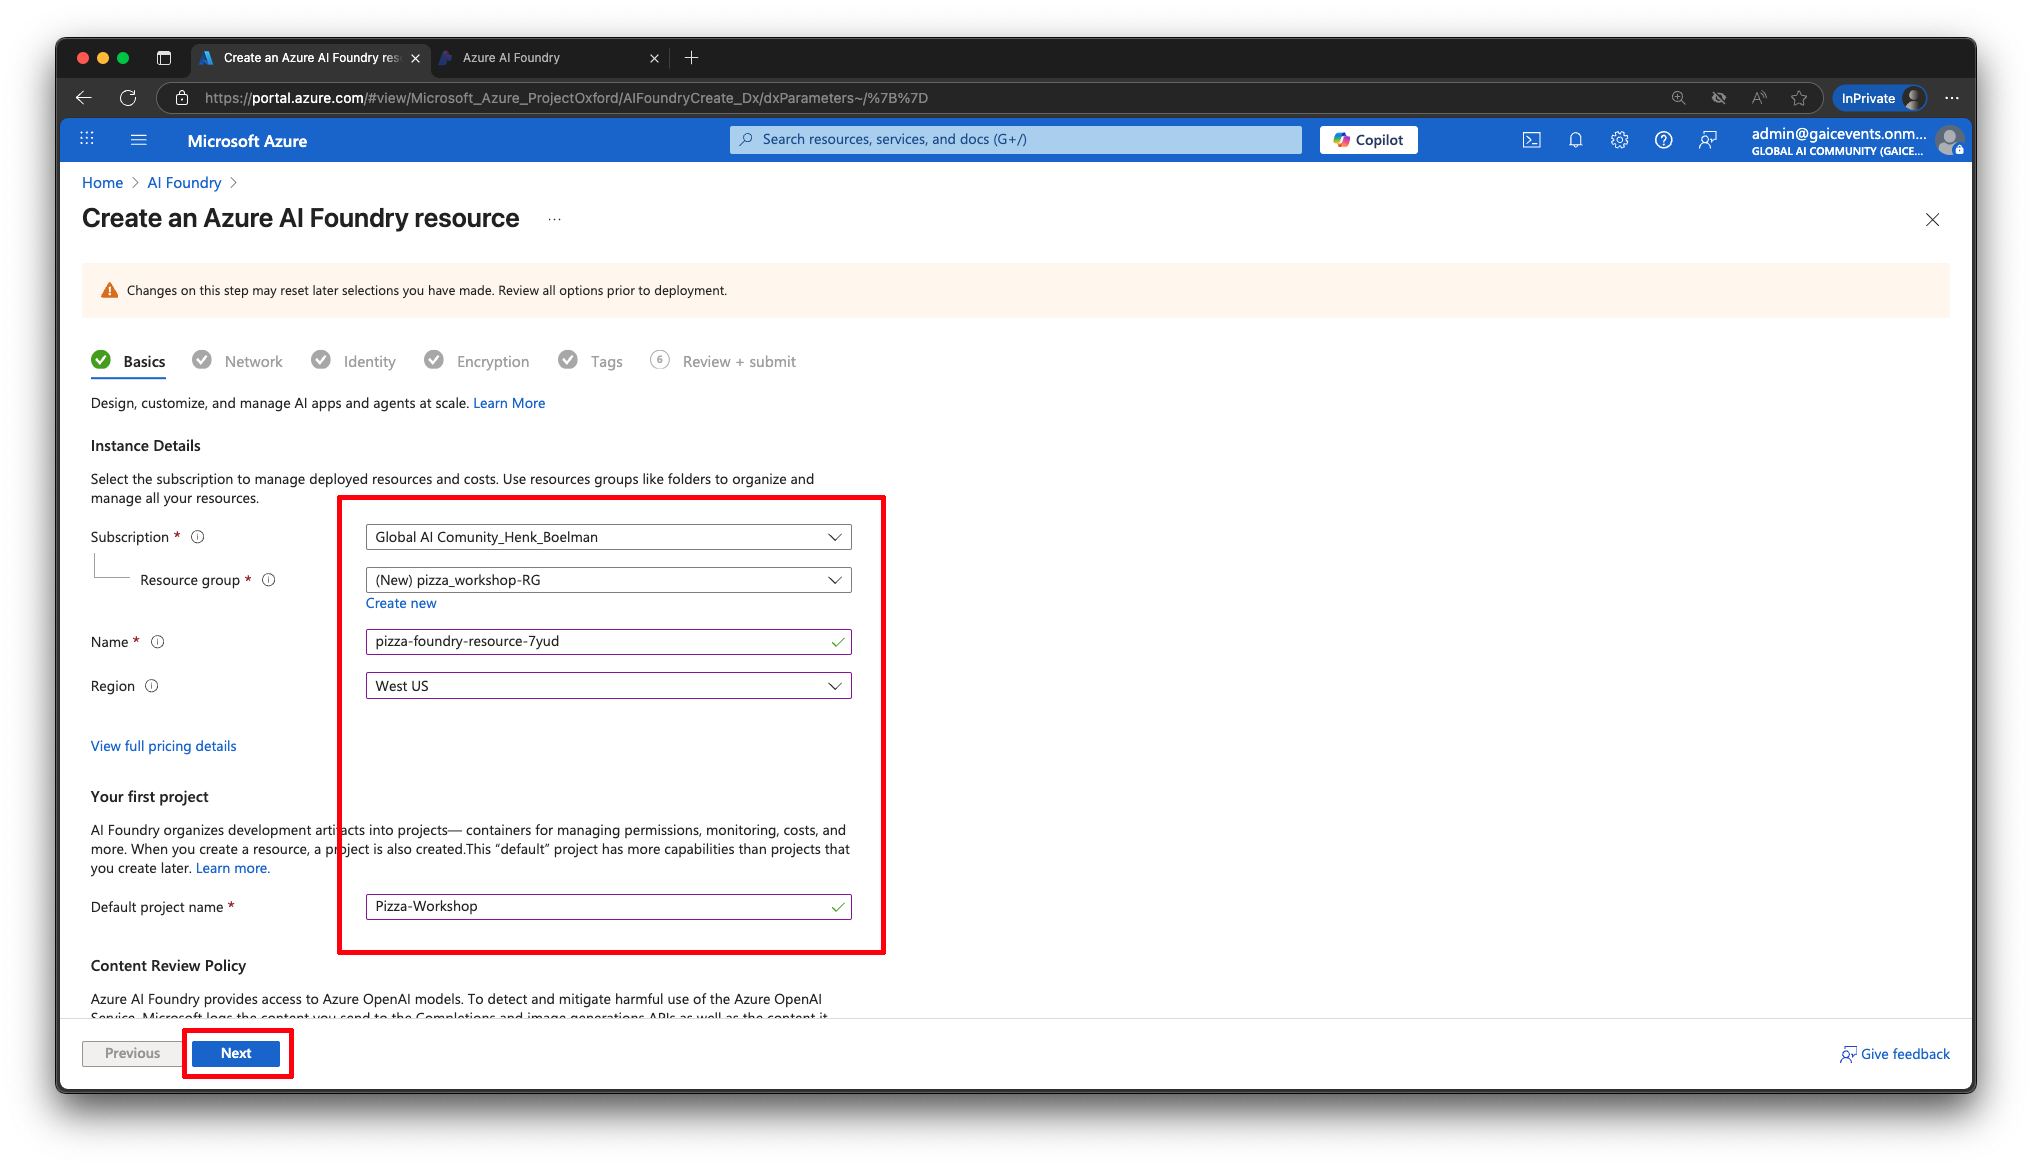
- Deploy the resource
- Click Next through the remaining steps until you reach Review + Create.
- Click Create to deploy the resource.
- Wait 1–5 minutes for the resource to finish deploying.
- Open Microsoft Foundry
- Navigate to AI.Azure.com.
- You should now see the Microsoft Foundry projects linked to your subscription.
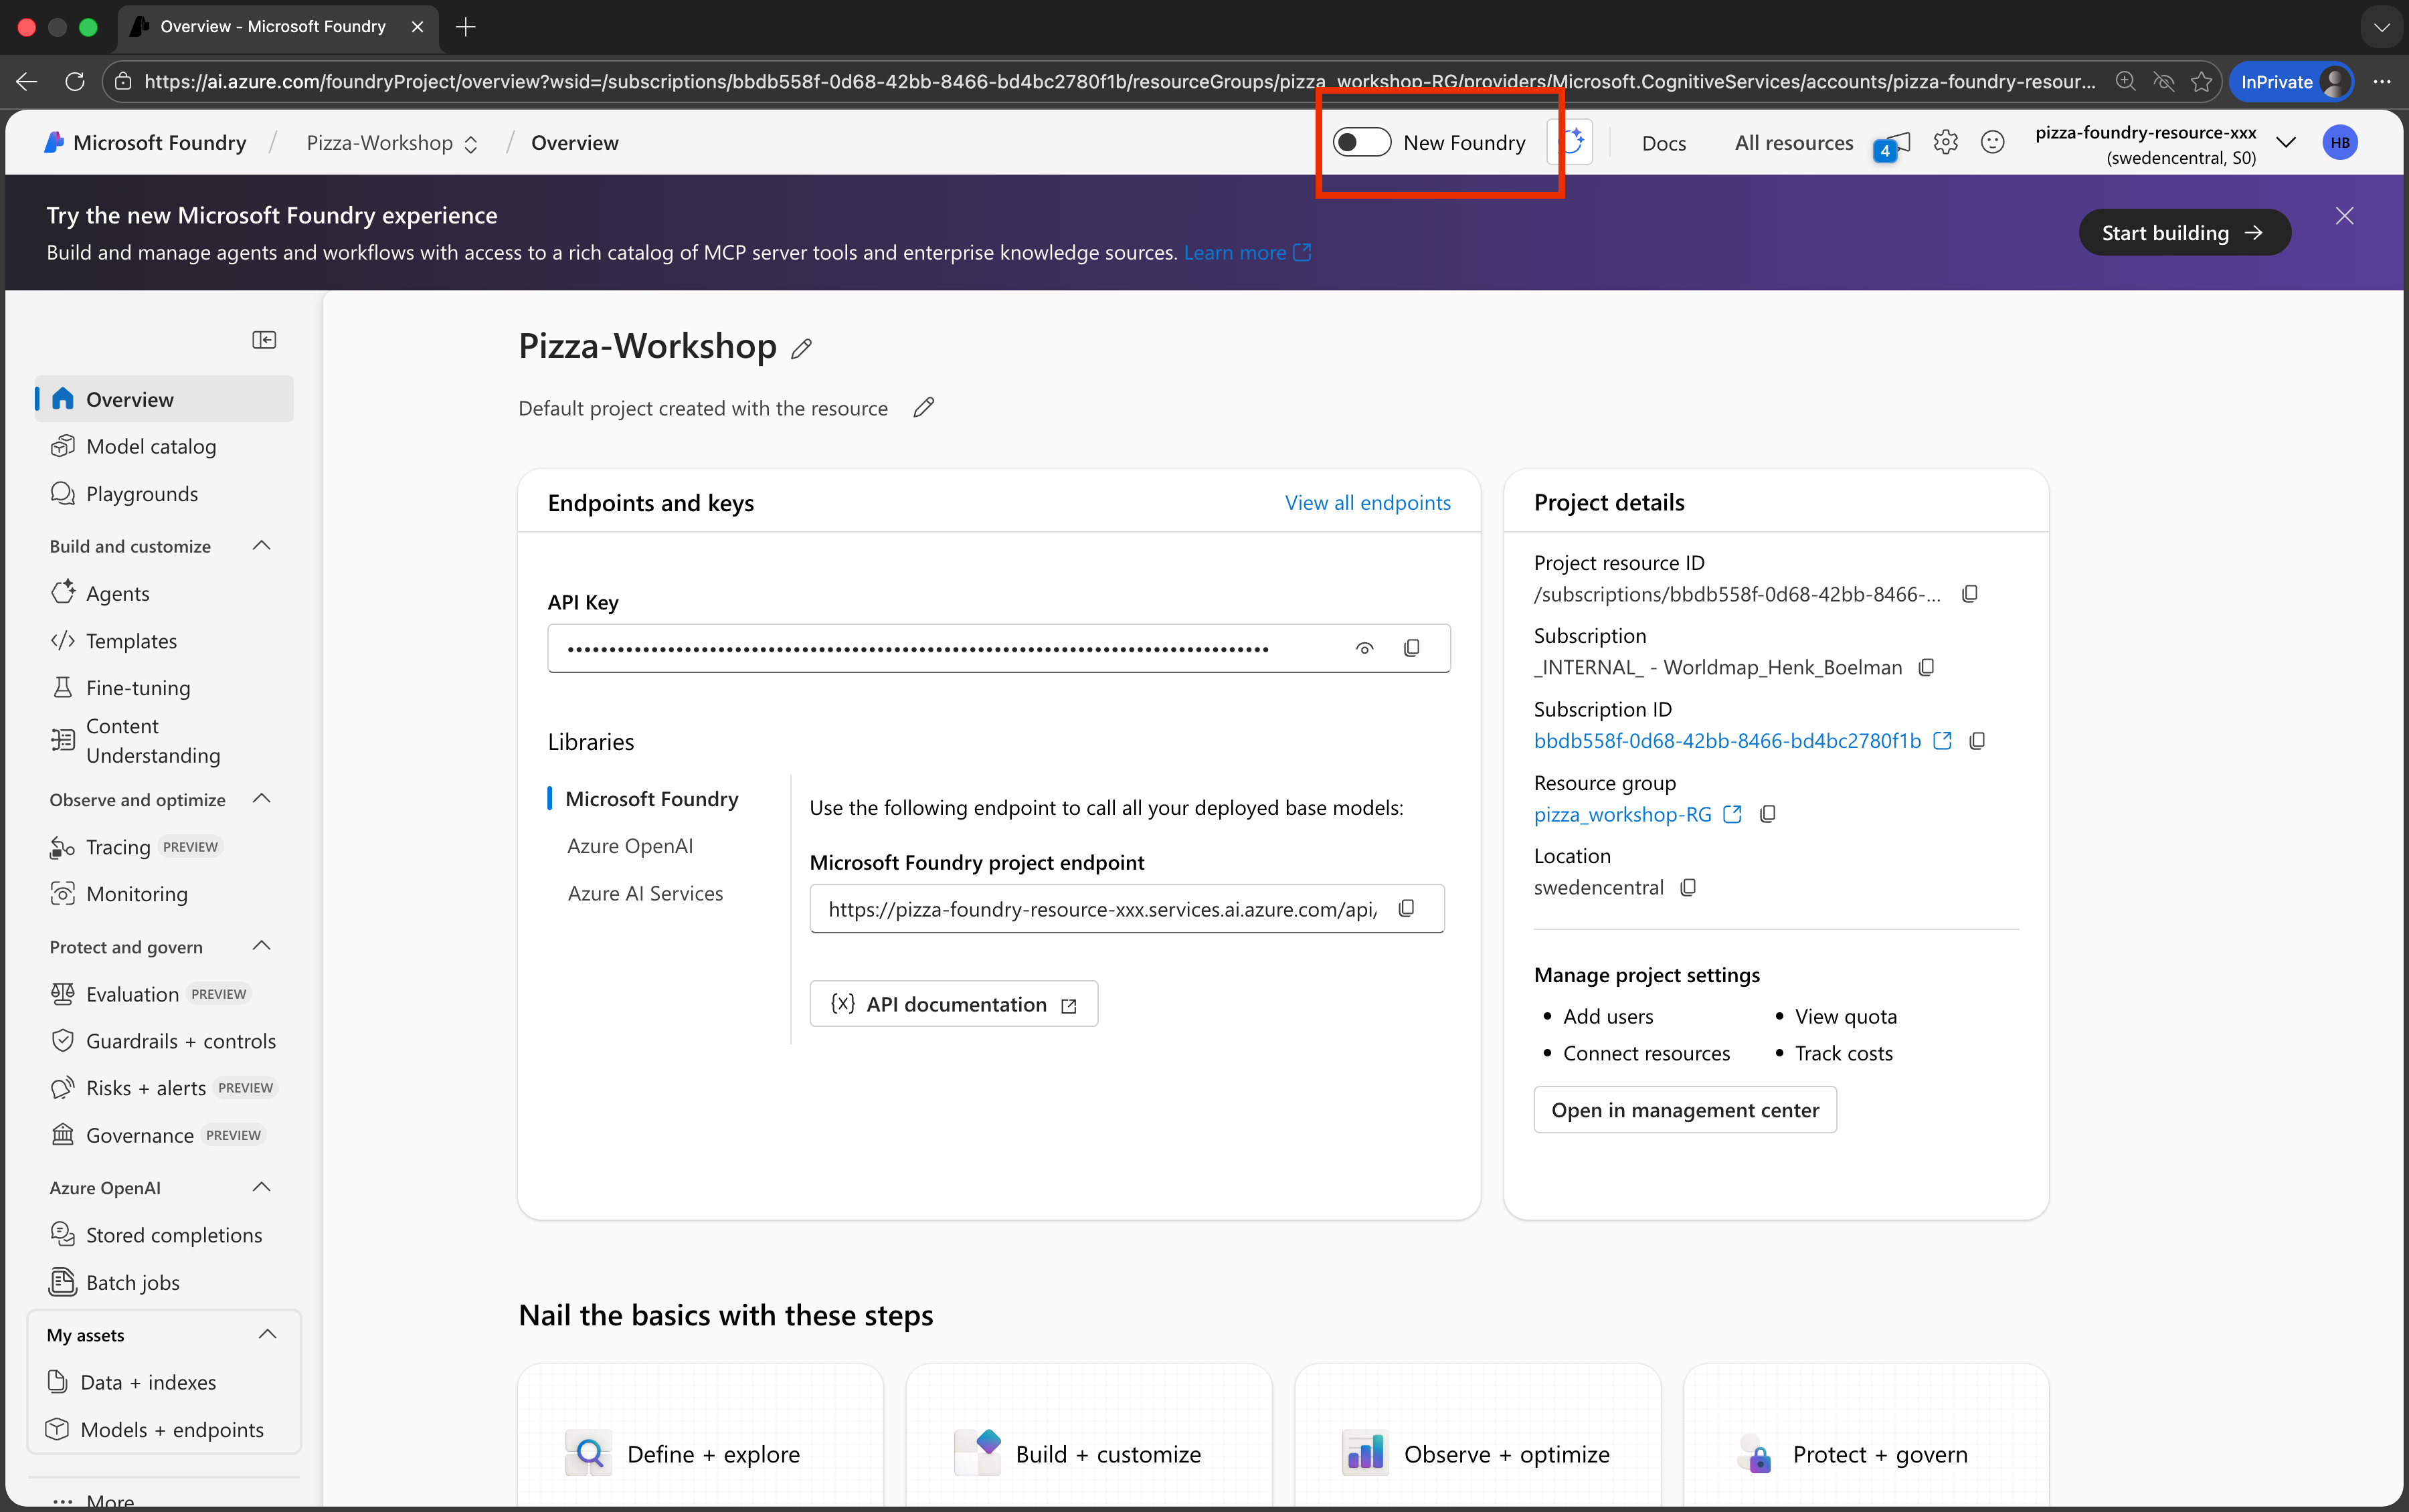
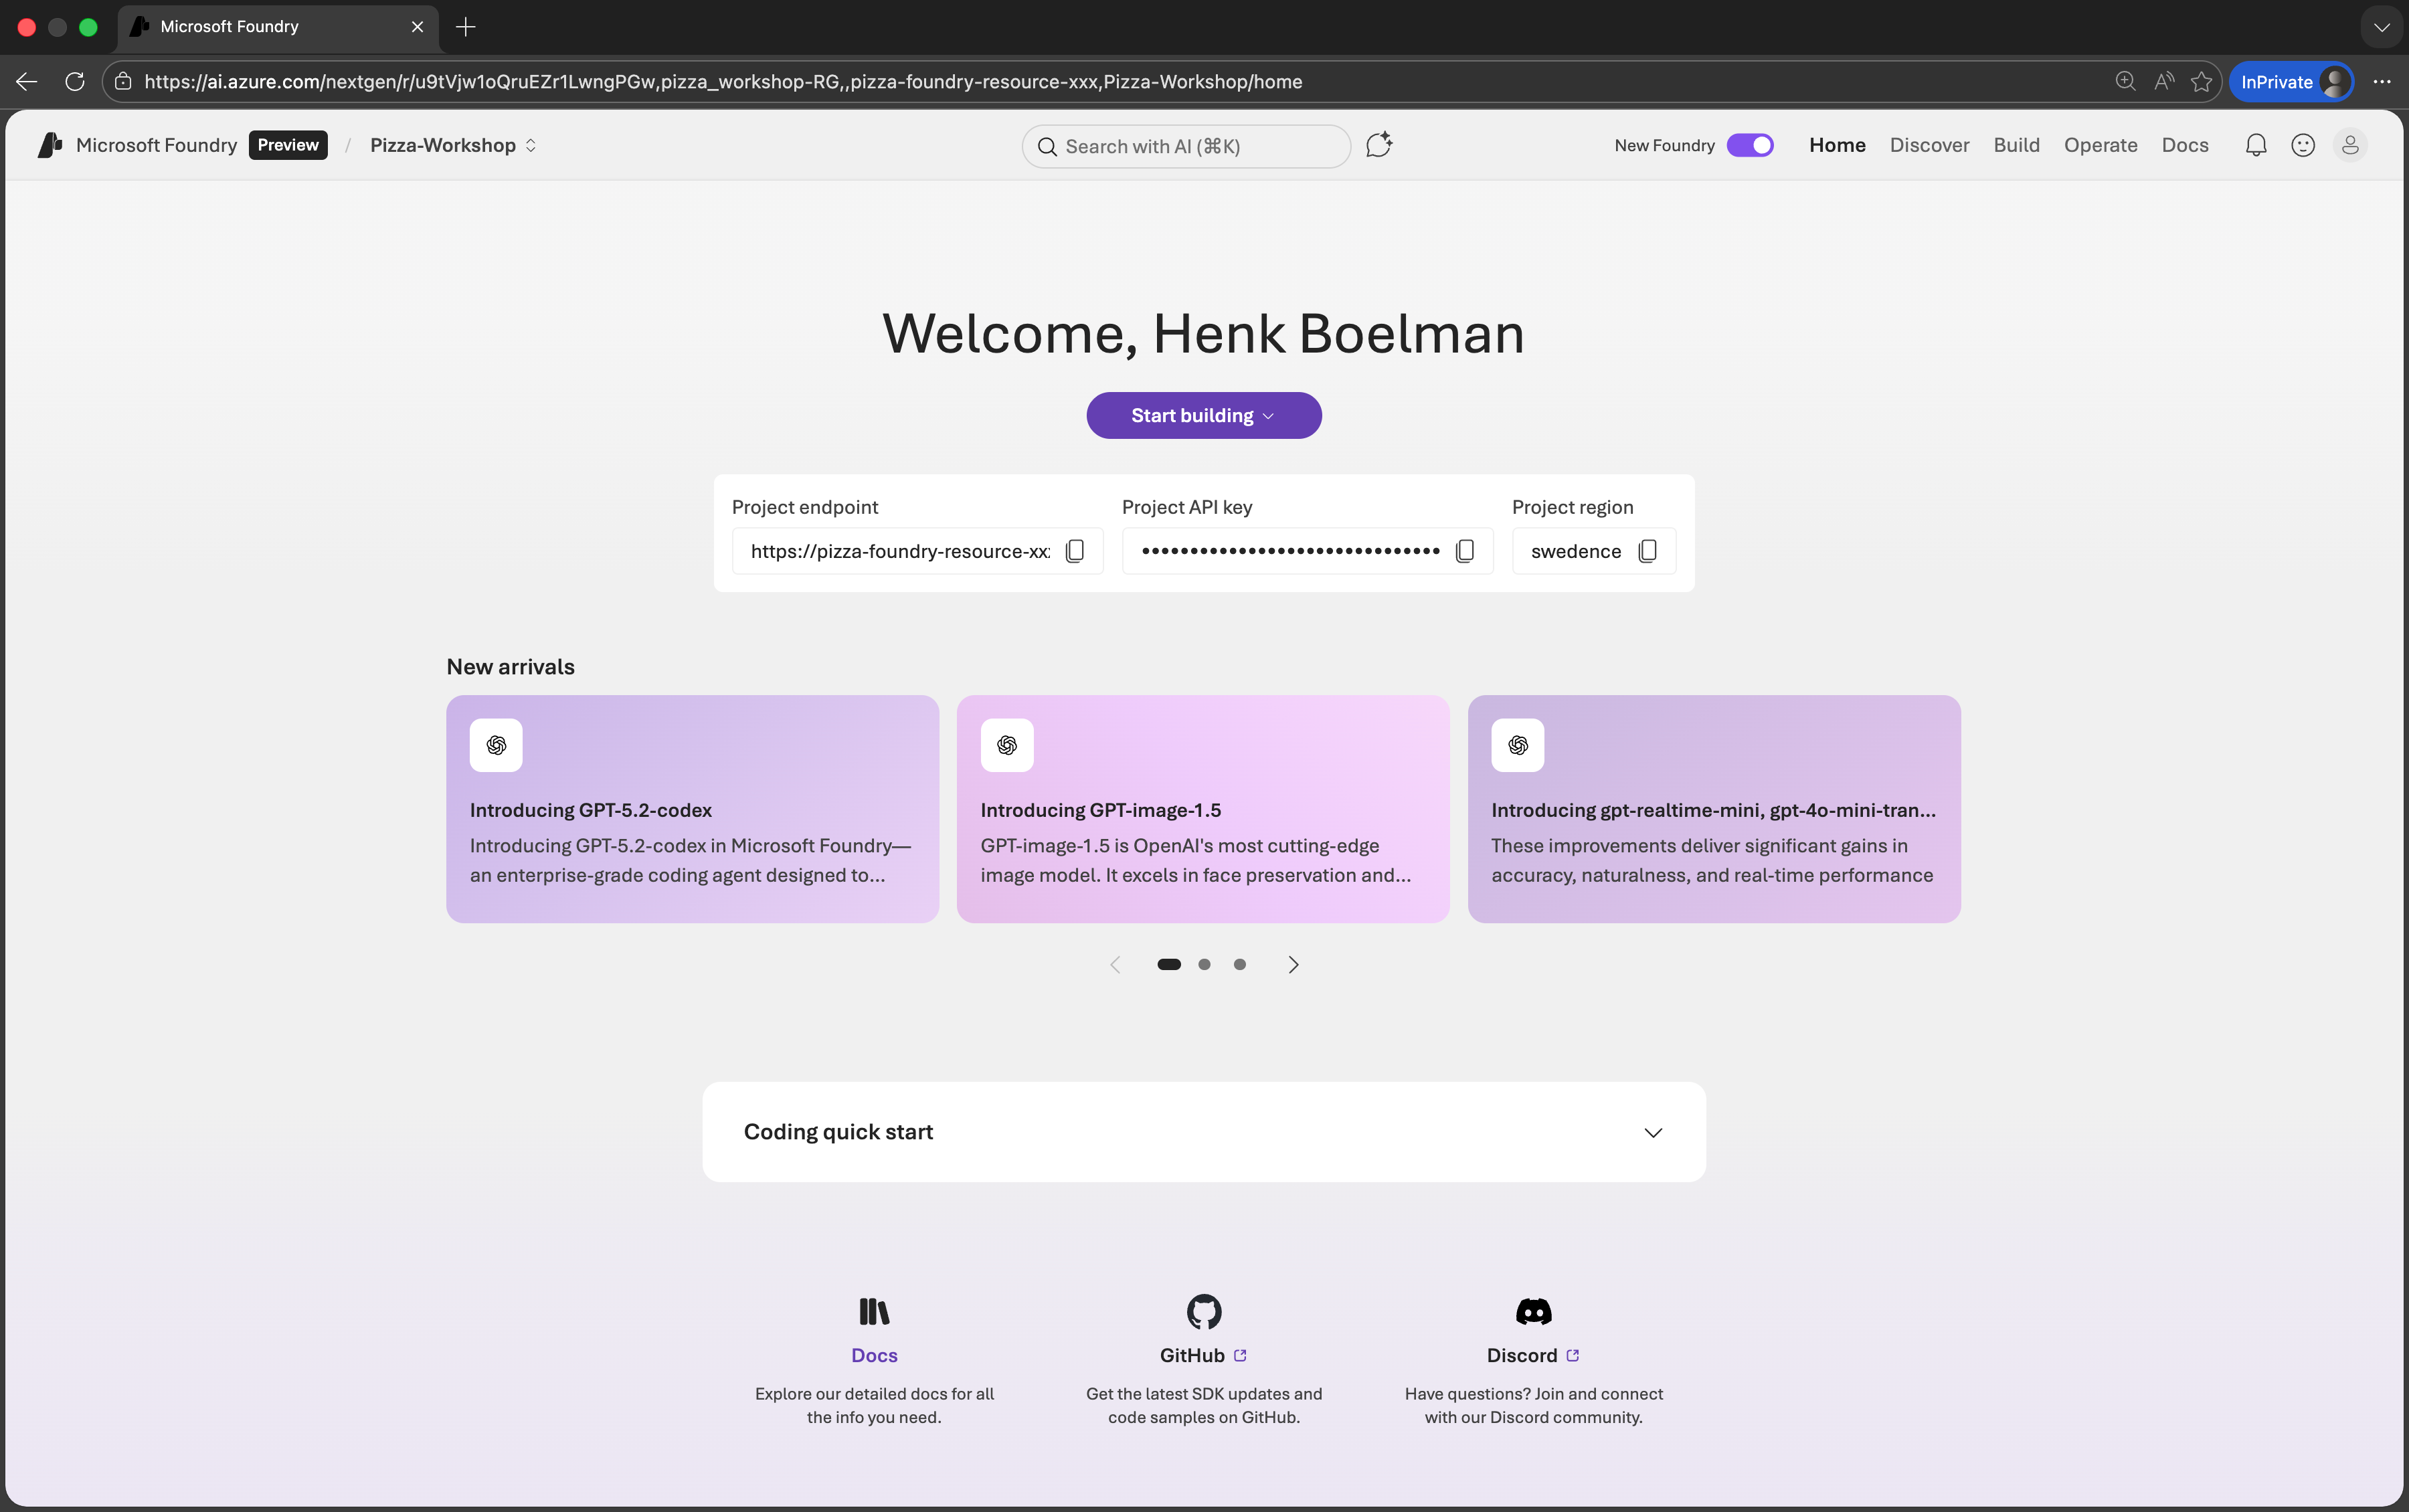
- Click the toggle "New Foundry" to enable the New Foundry interface
Deploy a base model
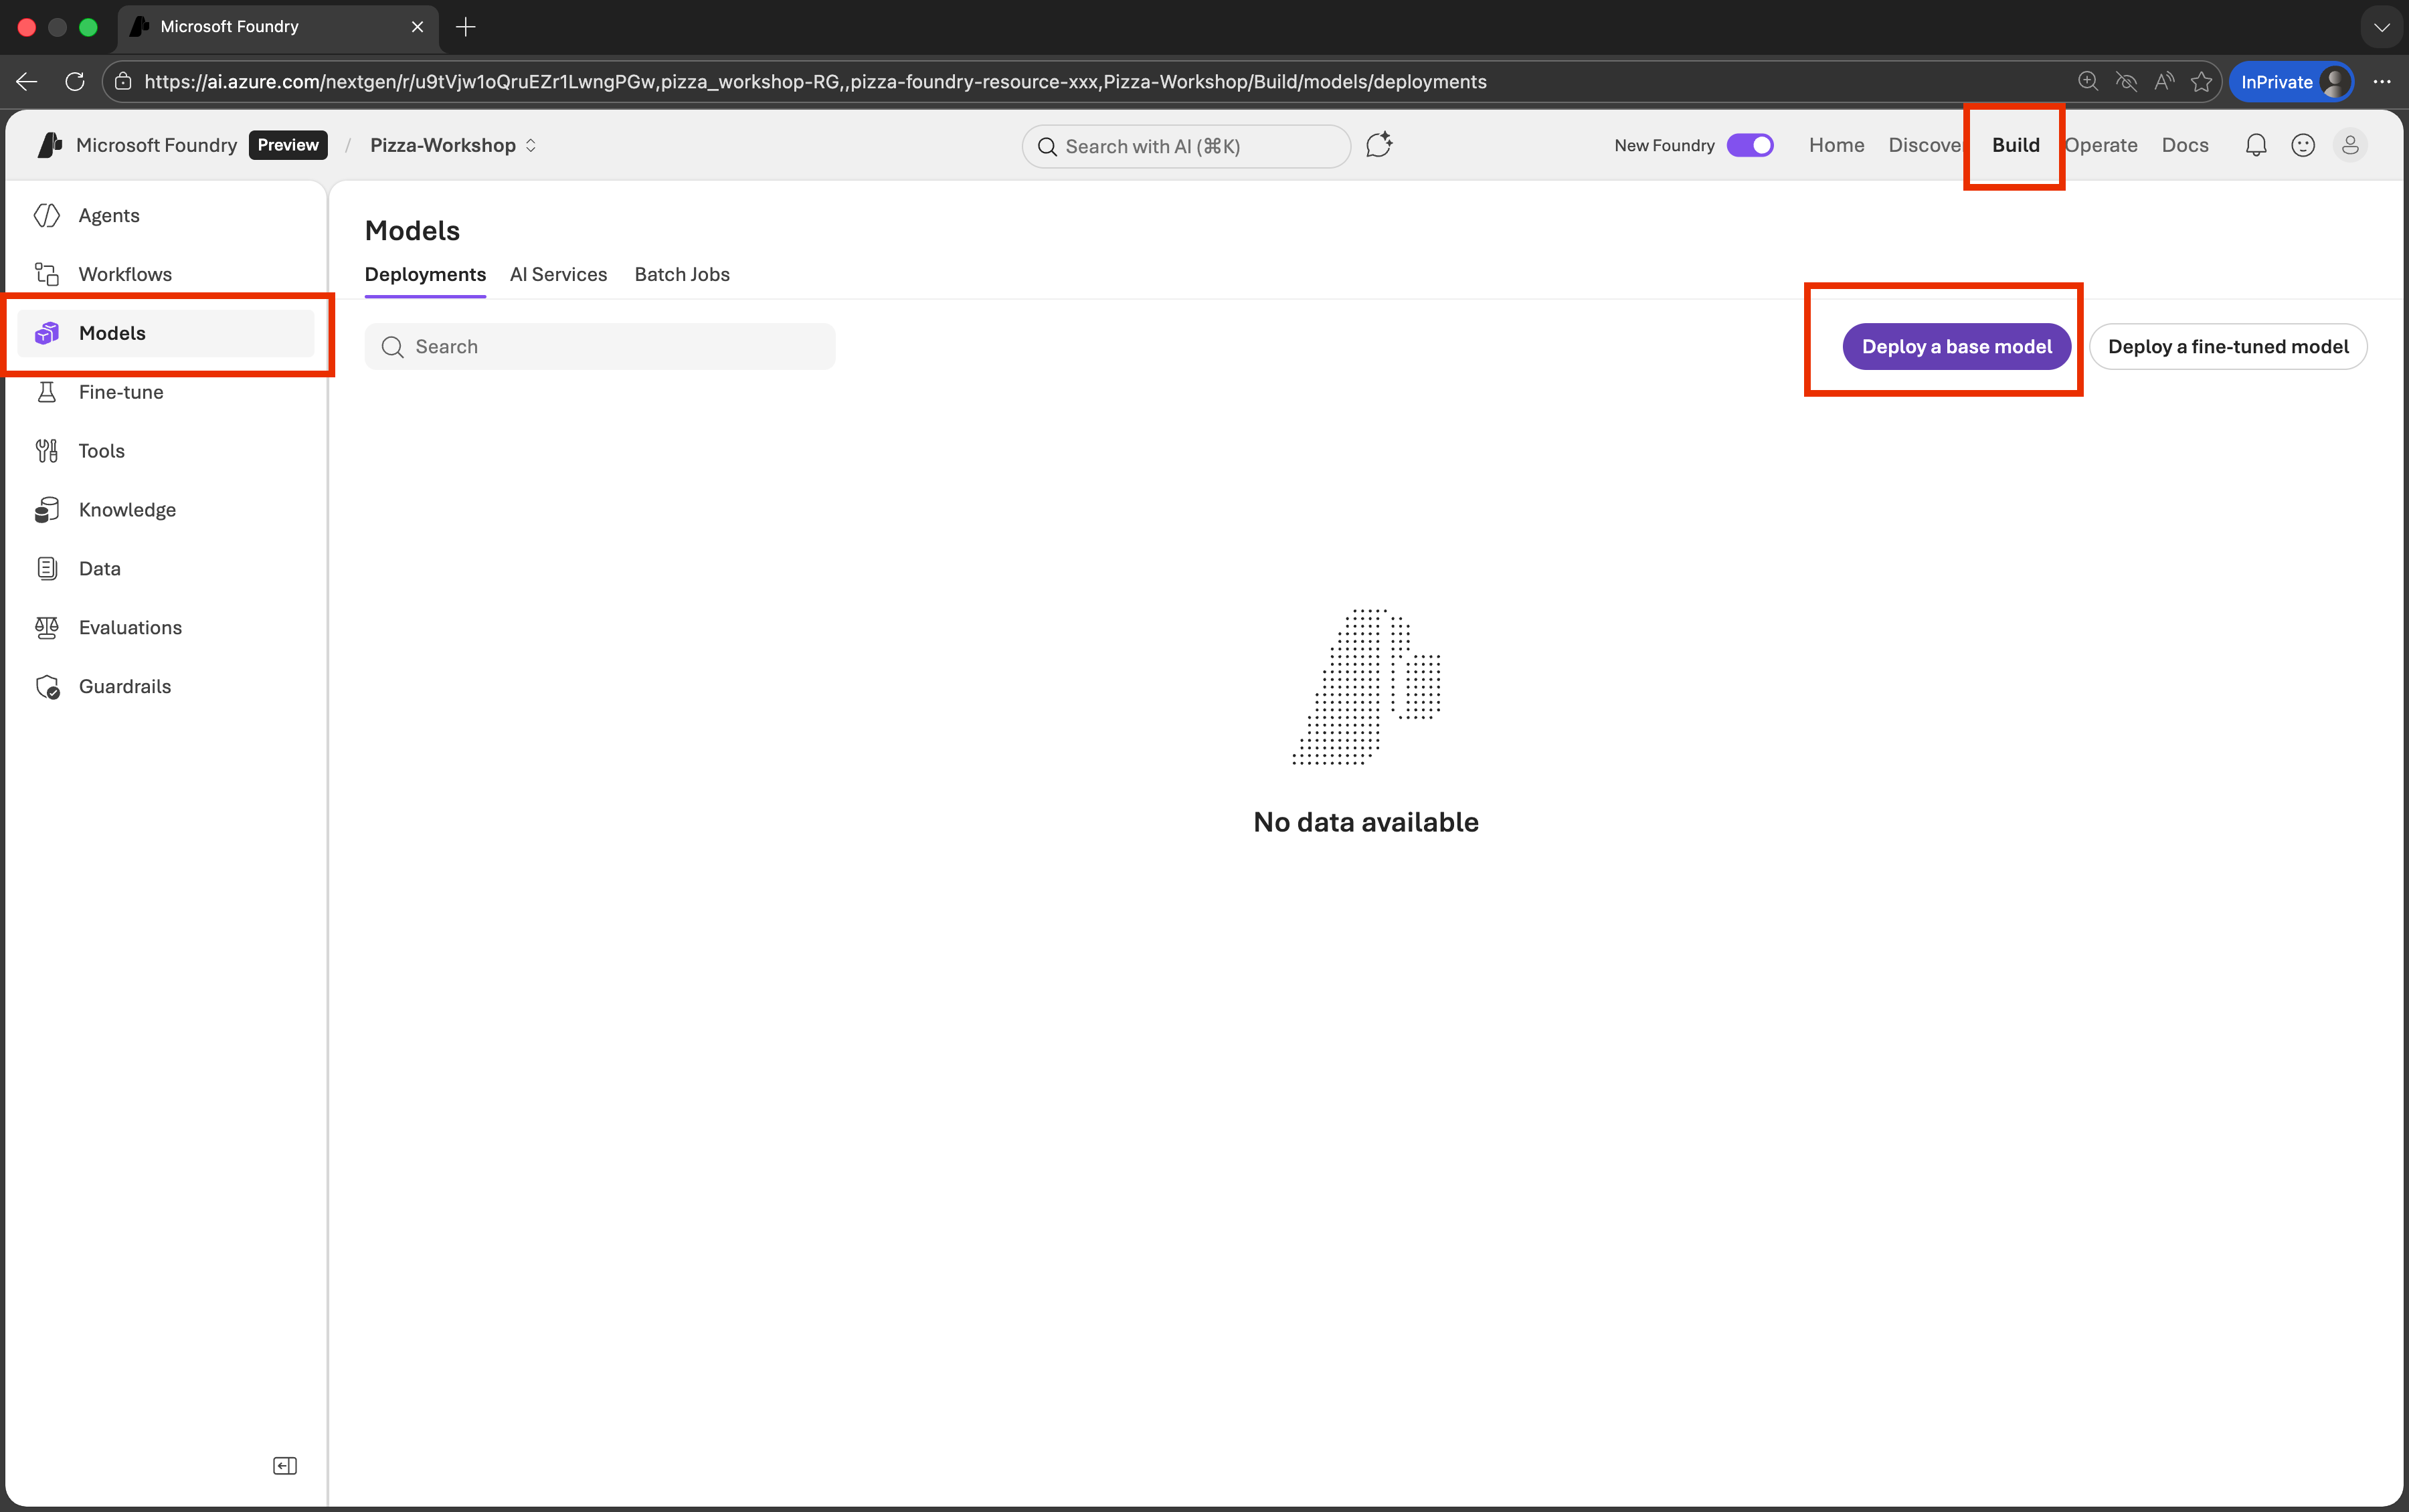
- In the project, go to Build > Models and click Deploy a base model.
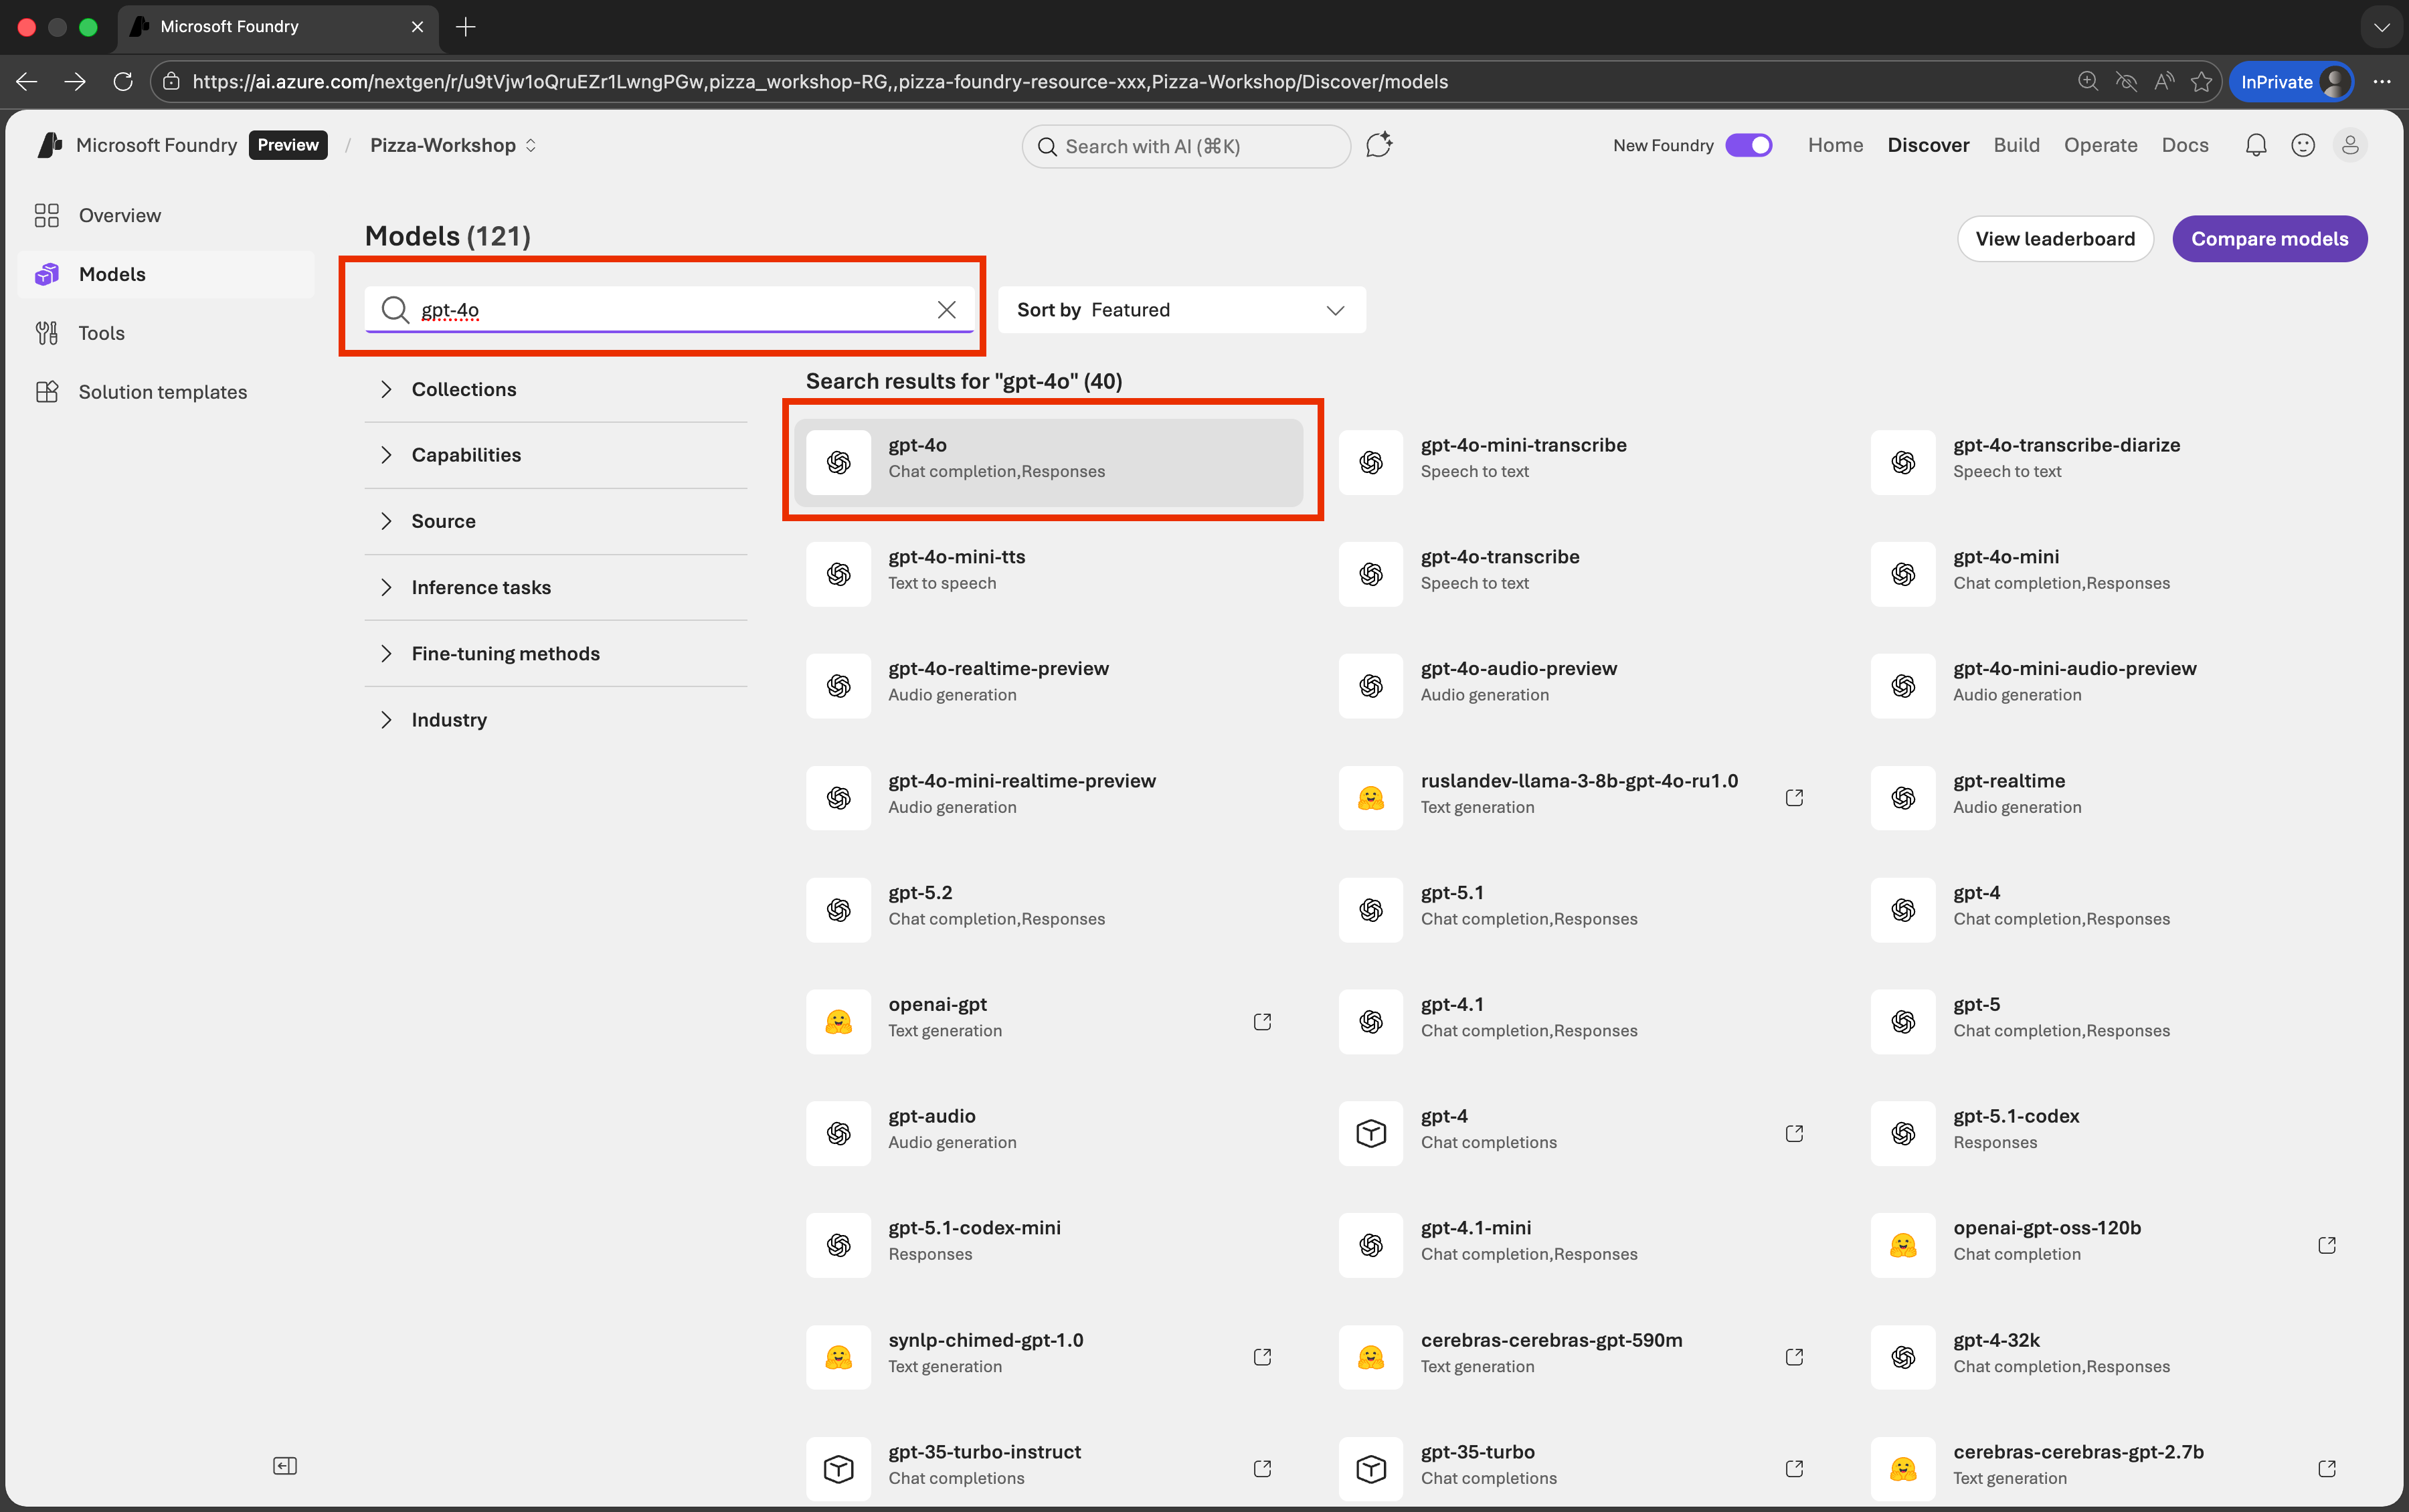
- Search for gpt-4o and click the model in the search results
- Click Deploy and click Default Setting
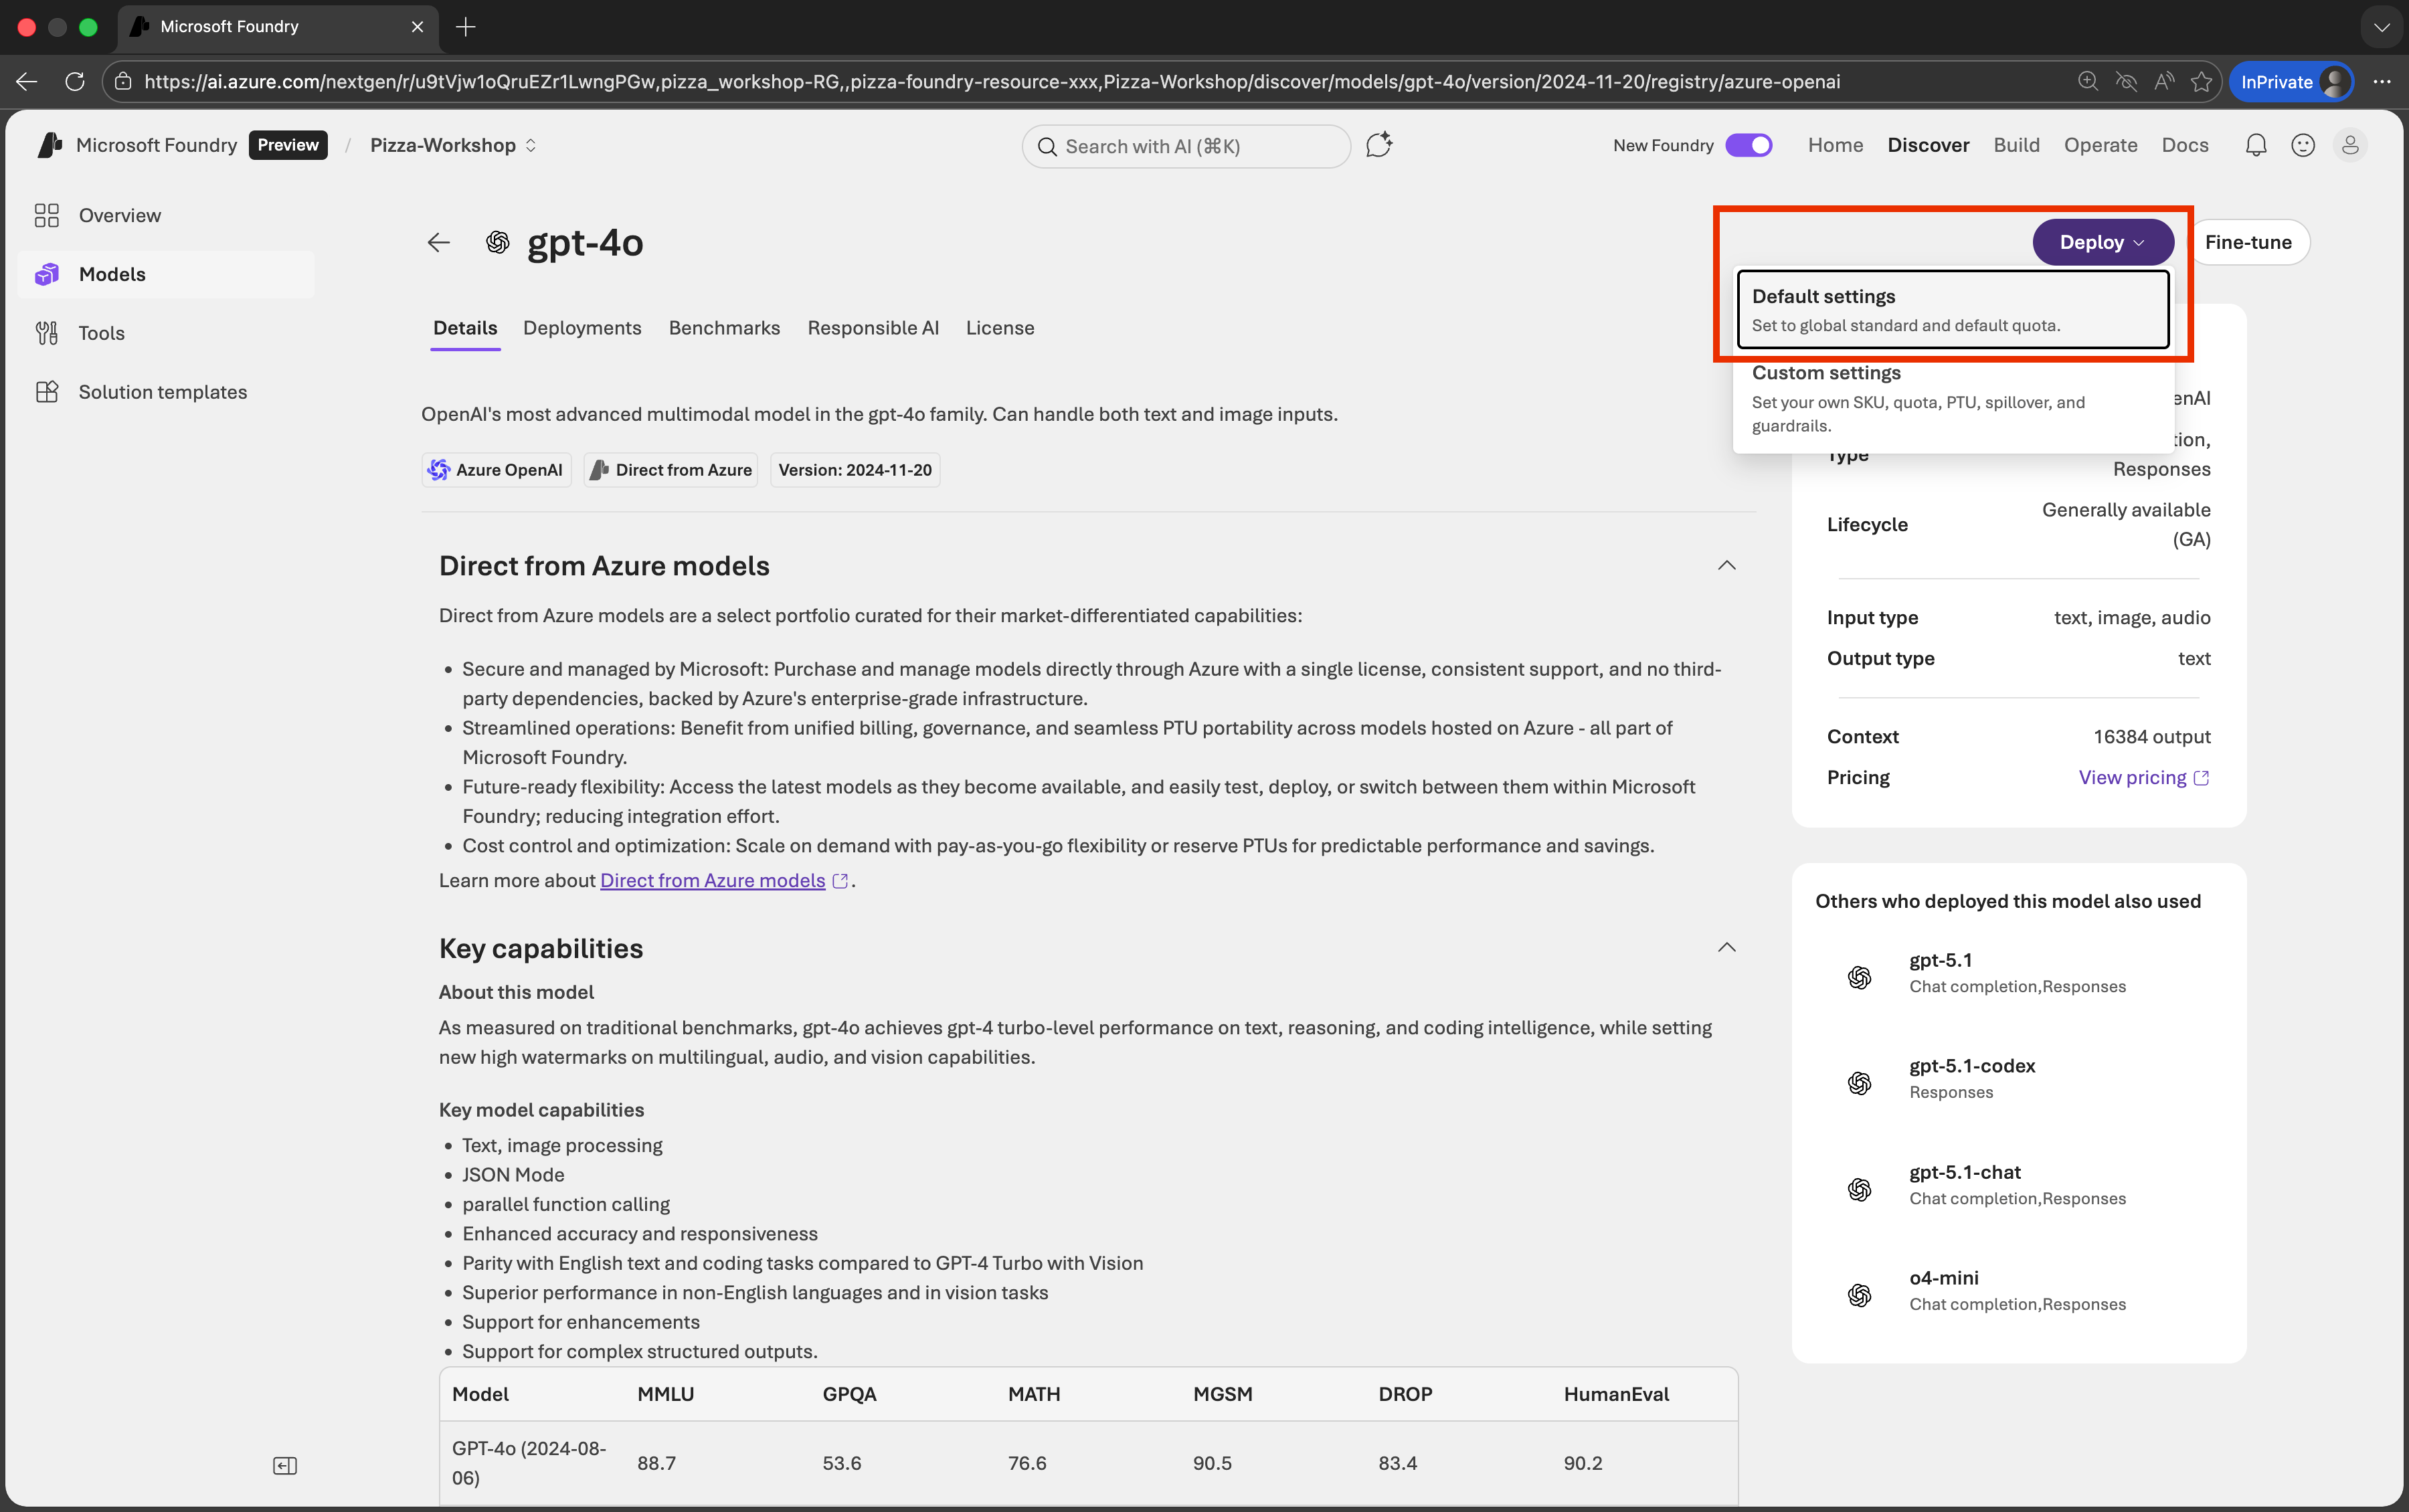
This will make the model available in your project for use by your agents.
- In the project, go to Build > Models and click Deploy a base model.
- Test the model
Once deployment is complete, it redirects to the Model Playground.
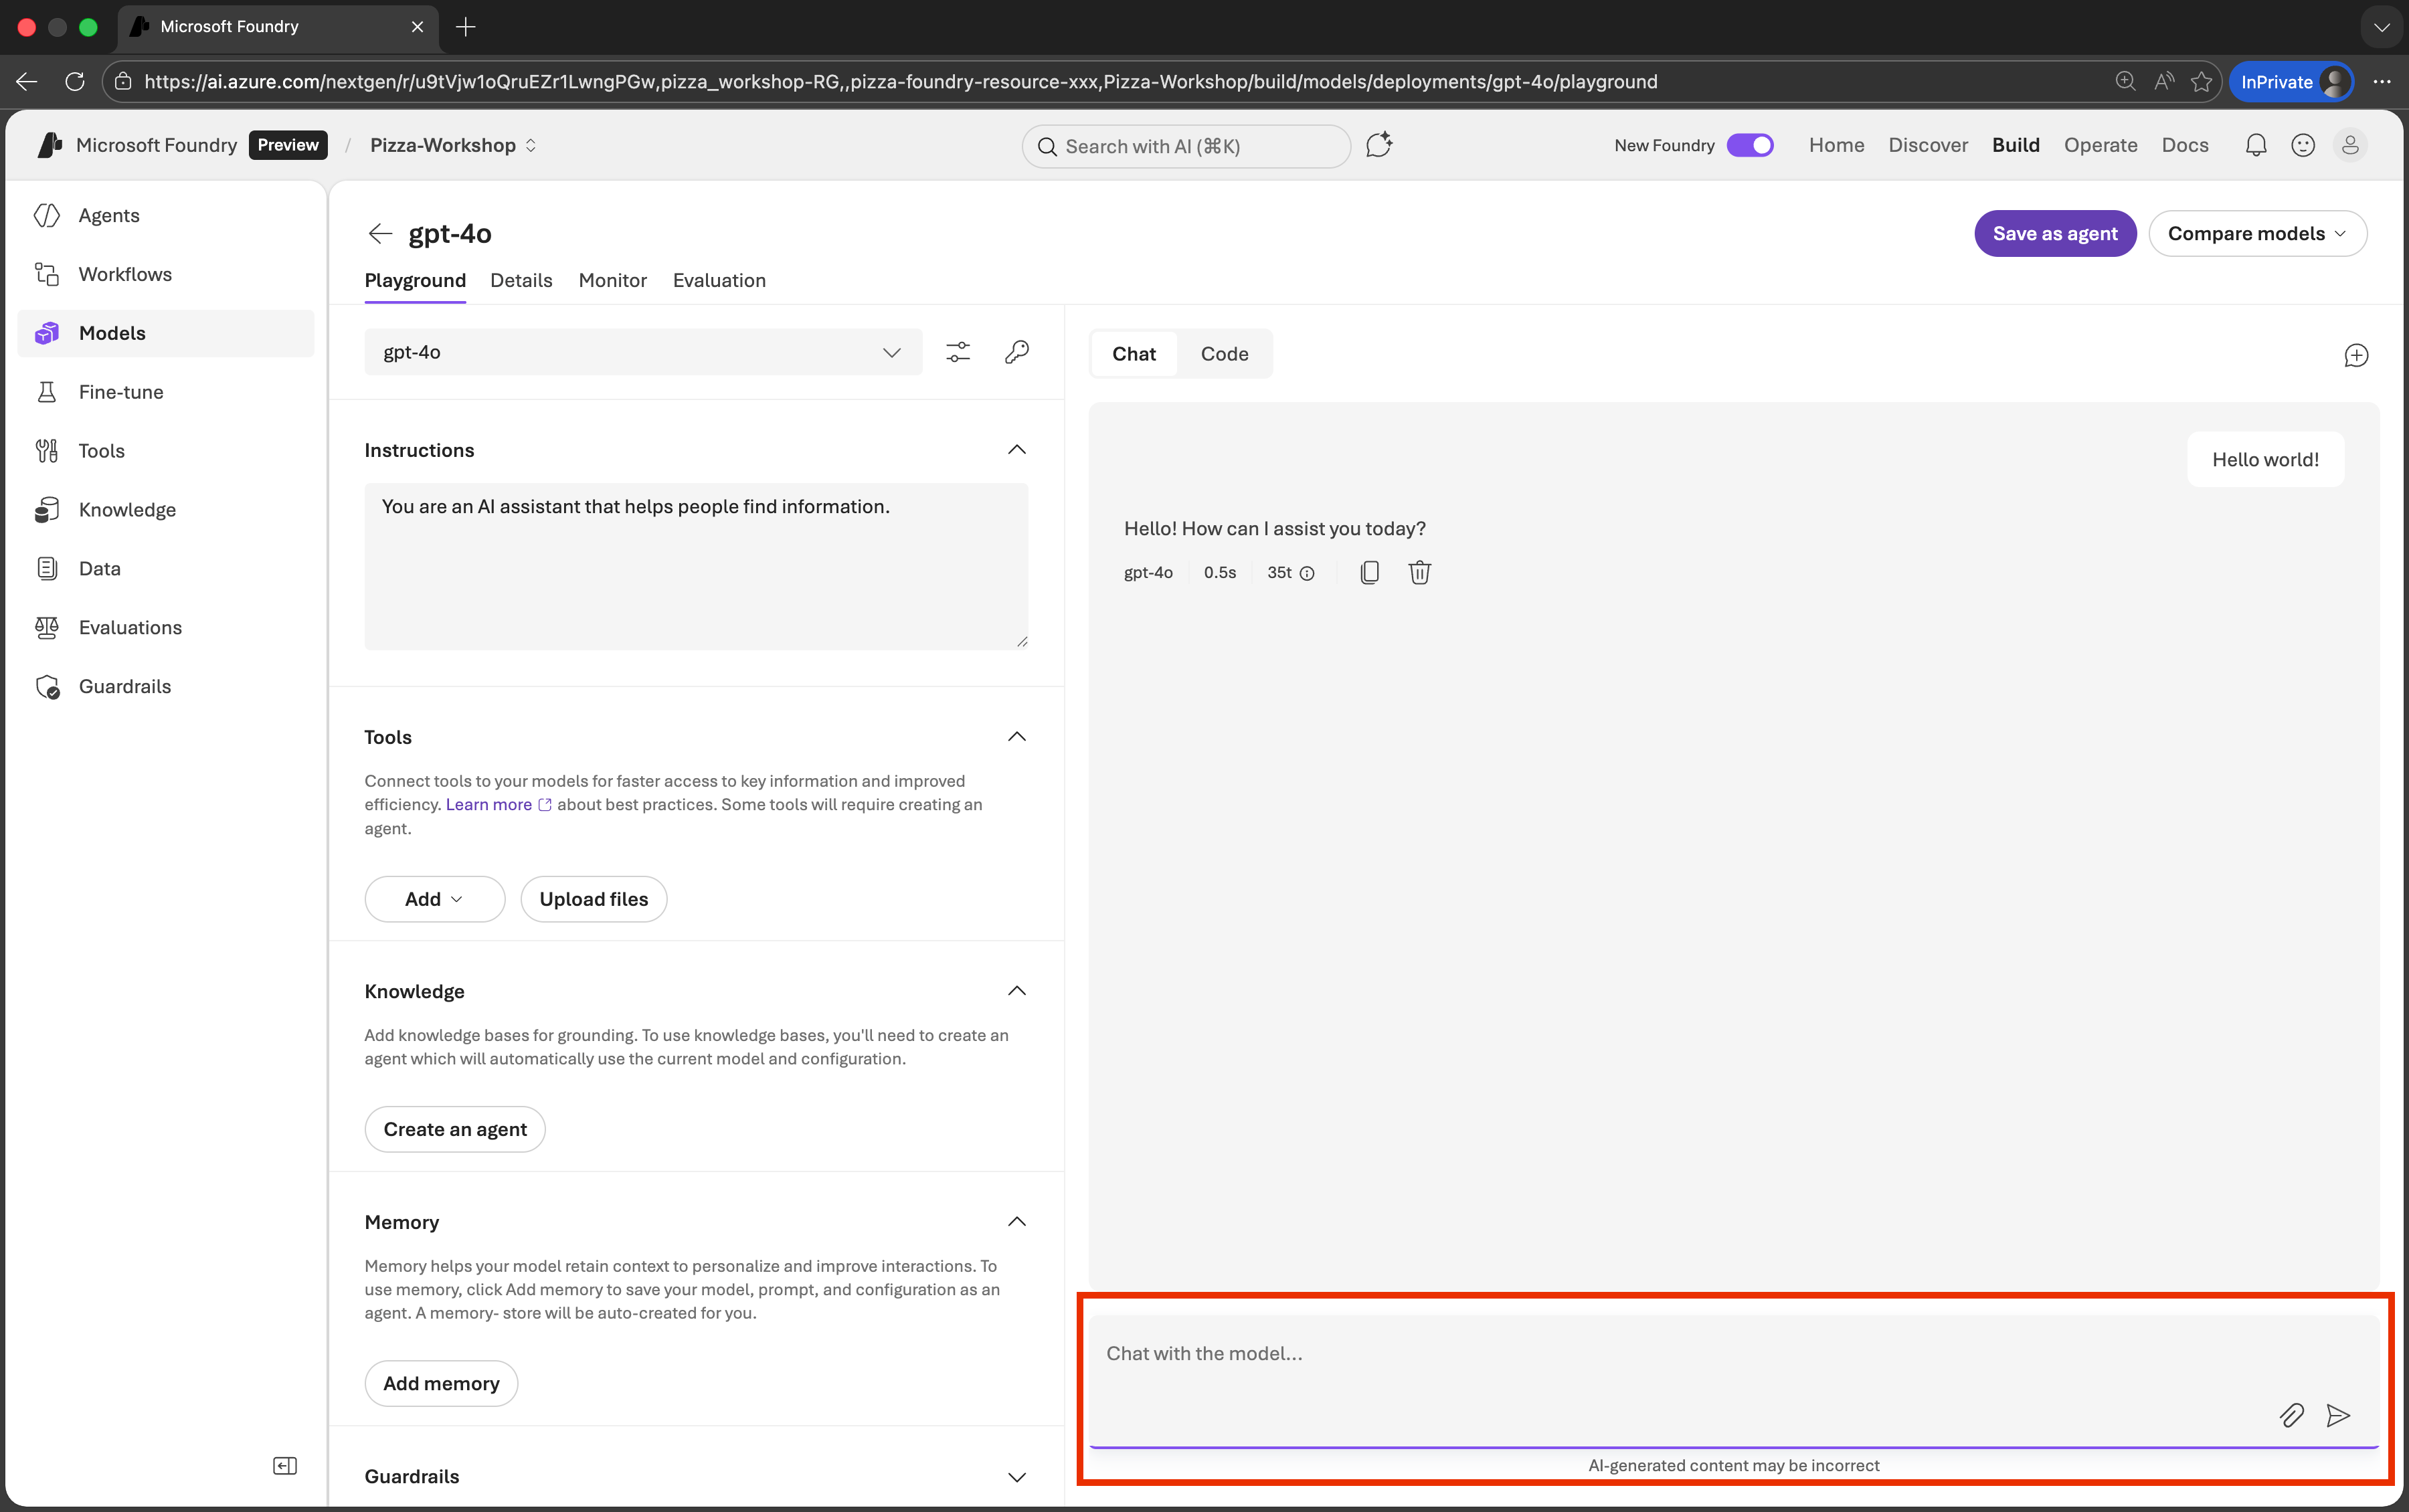
In the chat window, type:
Hello worldYou should see a response from the gpt-4o model. 🎉
Recap
In this setup section, you have:
- Logged into the Azure Portal
- Created a Microsoft Foundry resource
- Deployed a GPT-4o base model into your project
- Tested the model in the Playground
Your Azure environment is now ready for building the PizzaBot agent in the next chapters.